How I create a consistent aesthetic in my photos

If you haven’t already read my basic photography tips to create a curated style, it’s best to start here.

IMG_0413.JPG

How I edit my photos and the apps I use to create a consistent aesthetic in my Instagram feed

Favorite Apps

I usually end up using between 1-4 apps from start to finish when editing my photos before posting on the gram. I feel like I have tried them ALL, and finally found the ones that work the best and are quick and easy! Some of my favorites are Lightroom [free], snapseed [free], retouch [free] and unfold [for my stories] and VSCO [free].

photo editing apps.PNG

VSCO

After using VSCO forever, which totally worked to start with, I switched to Lightroom and I don’t think i’m ever looking back. VSCO has some really great one click filters you can apply and it’s a great place to start for beginners! Favorite filters are A6, M5, and I used G6 for a long time. You have the ability to copy and paste the same filter to multiple images at the same time, so this always helped plan a consistent style and easily edit blog posts that had multiple images. I still adjusted all the things even after I applied a filter so, you can use the same tips I’m sharing below from lightroom, in VSCO. Start by adjusting the strength of the filter and then focus in on the exposure, white balance [temperature], and HSL [color saturation and hue].

BEFORE

BEFORE

EDITED WITH VSCO A6 FILTER

EDITED WITH VSCO A6 FILTER

EDITED WITH MANDI NELSON PRESET IN LIGHTROOM

EDITED WITH MANDI NELSON PRESET IN LIGHTROOM

Even though VSCO’s filters are basically free [some you pay for] and presets can sometimes get pricey [anywhere from $30-$120 for bundles] I switched to Lightroom because I liked the professional preset options better, as it adjusted more things for me ahead of time. With VSCO I would spend so much time perfecting the tweaks because their filters just didn’t work on all my photos and sometimes a I just couldn’t find the right adjustments to make it consistent with my feed. Lightroom has presets made by professional photographers and I found they made more changes built into the preset that made it really easy to get a consistent and professional look to all my images no matter where or when they were taken. One thing I do like better about VSCO is you can edit the strength of the filter as a whole, vs in Lightroom you can’t adjust the intensity of the preset.

BEFORE

BEFORE

EDITED WITH VSCO A6 FILTER

EDITED WITH VSCO A6 FILTER

EDITED WITH MANDI NELSON PRESET IN LIGHTROOM

EDITED WITH MANDI NELSON PRESET IN LIGHTROOM

LIGHTROOM + PRESETS:

After 3 years and countless apps and filters, I found the easiest way to get a consistent style from all my images is to apply a preset in the Lightroom photo editing app. They have a mobile version or a desktop. I have both, but to be honest, I find myself using the mobile version 90% of the time, and it’s free!

I went through so many Instagram accounts to find the presets that worked best for me. I like a natural look with crisp, cooler feel with a hint of orange, less yellow and muted greens. If that makes no sense to you, don't worry, just find someone you like and try it out. You can give any preset your own stamp by adjusting things like the exposure, tint, temperature and color hues and saturation [skin tone]. It took me about two months to really start to understand what changes when I adjust what, but now I really think I’ve got it down!

BEFORE

BEFORE

EDITED WITH VSCO A6 FILTER

EDITED WITH VSCO A6 FILTER

EDITED WITH MANDI NELSON PRESET IN LIGHTROOM

EDITED WITH MANDI NELSON PRESET IN LIGHTROOM

Current Preset:

Mandi Nelson

I love how crisp and cool her's are-but I adjust the oranges and yellows quite a bit. [I'll show you how I use hers in a later in this post]. You should also go to her story highlights on her IG there’s a crazy amount of good tips on there and she reviews tons of FAQ’s about lightroom + how to use presets. Here’s just one example of how you can really have your own style, even when using a preset. Mandi’s feed vs my feed using the same lightroom preset still look very different because of our photography style and editing.

IMG_5040.jpg

Previous preset:

Jessica Janae

These are what I used for my first 3 or 4 installments of #thedailymoments and about 3 weeks on my Instagram feed.

Steph Pollock suggested her and uses her presets beautifully. You can see below the difference between my style and Stephs. It just shows you how diverse a preset can be and that by using a preset someone else uses, doesn’t always mean your images will look exactly like theirs. It’s all in how you shoot, the lighting, editing angles and how you adjust the presets.

Steph pollock IG feed.png
occasionally_perfect photo editing tips.PNG

Other Presets I love:

Jenna Kutcher

Jenna is a beautiful soul, excellent photographer and someone I adore! Her presets are perfect for the beginner because she gives you a ton of easy one click options that don’t need a lot of adjustments.

JennaKutcher presets IG Feed.PNG
JENNA KUTCHER PRESET EDITING TIPSJPG
EDITED WITH JENNA KUTCHER PRESETS

EDITED WITH JENNA KUTCHER PRESETS

Bethany M Poteet

Her presets make me feel like i’m sitting on a white sandy beach. Such a pretty and calm vibe.

IMG_4901.PNG
BEFORE

BEFORE

EDITED WITH BETHANY POTEET PRESET

EDITED WITH BETHANY POTEET PRESET

EmmyLowe x BurtsBriPlease

I mean, don’t you just want your whole house to look this crisp, clean and happy?

burtsbrispleasepresets.PNG

Sophia Elrae

If you want a moody or warmer fall vibes, love this mamas presets.

sophiaelraepresets.PNG
BEFORE EDITS

BEFORE EDITS

EDITED WITH SOPHIA ELRAE PRESETS - COOLSAGE

EDITED WITH SOPHIA ELRAE PRESETS - COOLSAGE

Adjustments to presets [lightroom] or filters [vsco]:

The first thing I do to my photos is apply my preset and then I adjust from there. I focus on 3 things, exposure [brightness], temperature [warm or cooler] and color saturation [skin color and landscape vibrancy]. I also adjust the sharpness or grain if the image needs it but not always, this is already done in my preset, so it’s one less step to edit.

First edit, add preset

First edit, add preset

Then adjust exposure + shadows +highlights

Then adjust exposure + shadows +highlights

Go into Color tab, and top right is the MIX where you can change each color individually.

Go into Color tab, and top right is the MIX where you can change each color individually.

I typically change the yellow to get rid of artifical light and then orange to adjust skin tones.

I typically change the yellow to get rid of artifical light and then orange to adjust skin tones.

Exposure

I almost always [ok, always] adjust the exposure. I try and take all my photos underexposed or not in direct sunlight so that I can adjust the brightness myself once it’s in the app. I adjust exposure right after I apply the preset and then also after I do ALL my other edits to the preset. I sometimes need to go back and lower it if it’s too bright and lost some contrast or brighten it if it is still too dark.

IMG_4438 copy.jpg
IMG_4446.JPG

Temperature

This can help take a blan photo to a whole new level, adds yellows and oranges [warmer] or blues and greens for a cooler feel. I don’t adjust this much anymore, I use the Color Mix to really change each color. But, it’s a good place to start before you get crazy learning the adjustments to specific colors.

Color Hue + Saturation [skin tone]

Thanks to @hellojessiemartin [she’s the best account to follow for really good photo editing tips] I learned all about this part of Lightroom and it’s really upped my photo editing game.

3 colors I focus on adjusting in my photos are the yellows, oranges and greens. Start with the color MIX tab.

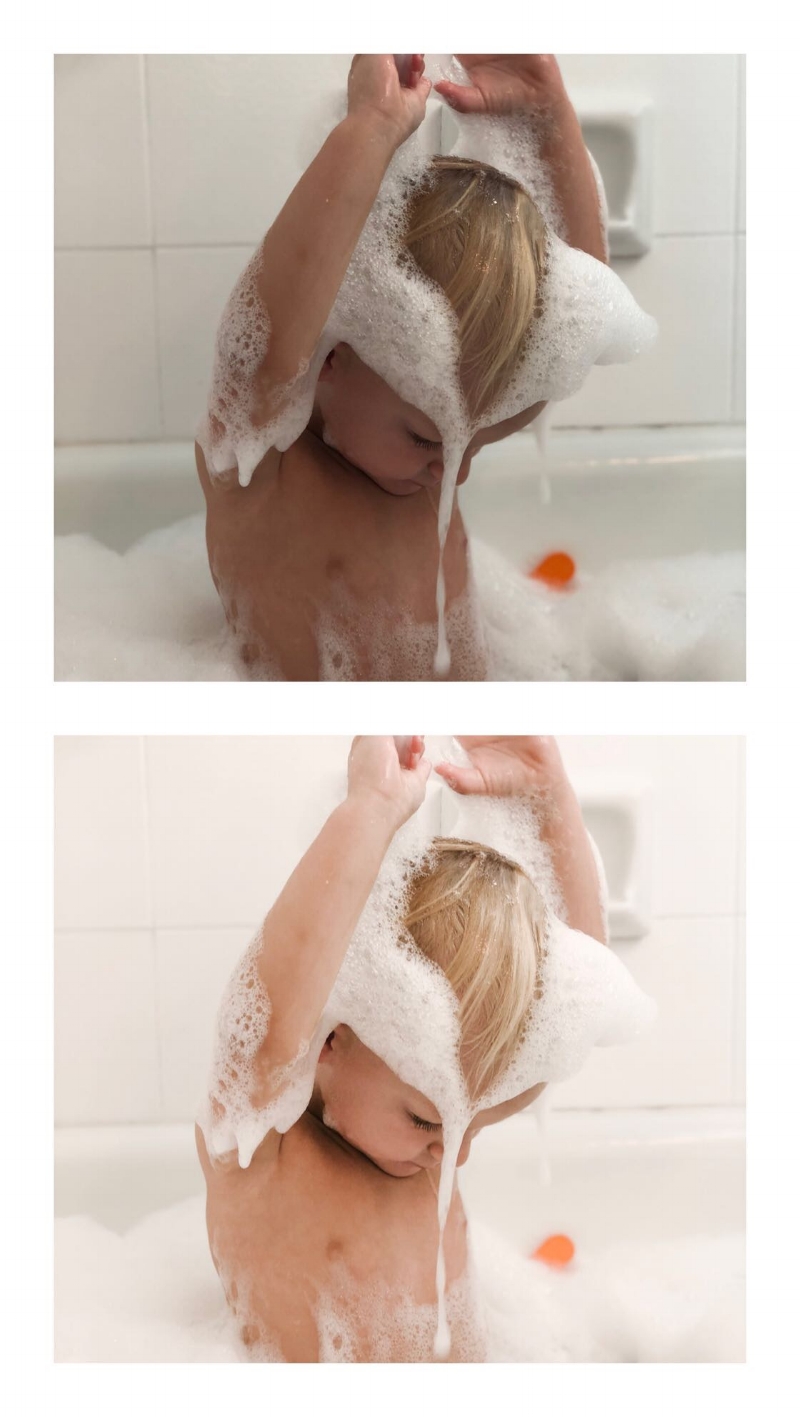
yellow: Taking the yellow saturation down, gets rid of that horrible artificial light in most homes and restaurants and makes your images more white + natural [like they should be]. Practice this one with a bathroom shot. It’s amazing what taking the yellow saturation can do to your photo! If you take the luminance up, it makes them even more white and bright.

IMG_0613 2.JPG
IMG_0613.JPG

orange: this adjusts skin tones, this one you have to play with because it everyone has such different skin, it’s really up to you to see what works best for you. Use the color mix tab and adjust the saturation first, then hue to adjust the yellow, orange and red undertones in your skin. Mandi’s preset already takes down the oranges, so I usually bring them up a bit from where she has them.

IMG_4986.JPG
IMG_5020.JPG

green: this is mainly for my outdoor shots or images at home that have my plant babies in them. I take the greens down a little so that it doesn’t stand out in my photos. Grassy parks or front yards can get a warm touch to them if you take the green out of the photo a bit.

IMG_3406 2.JPG
IMG_3406.JPG

How I edit in lightroom mobile [step by step]

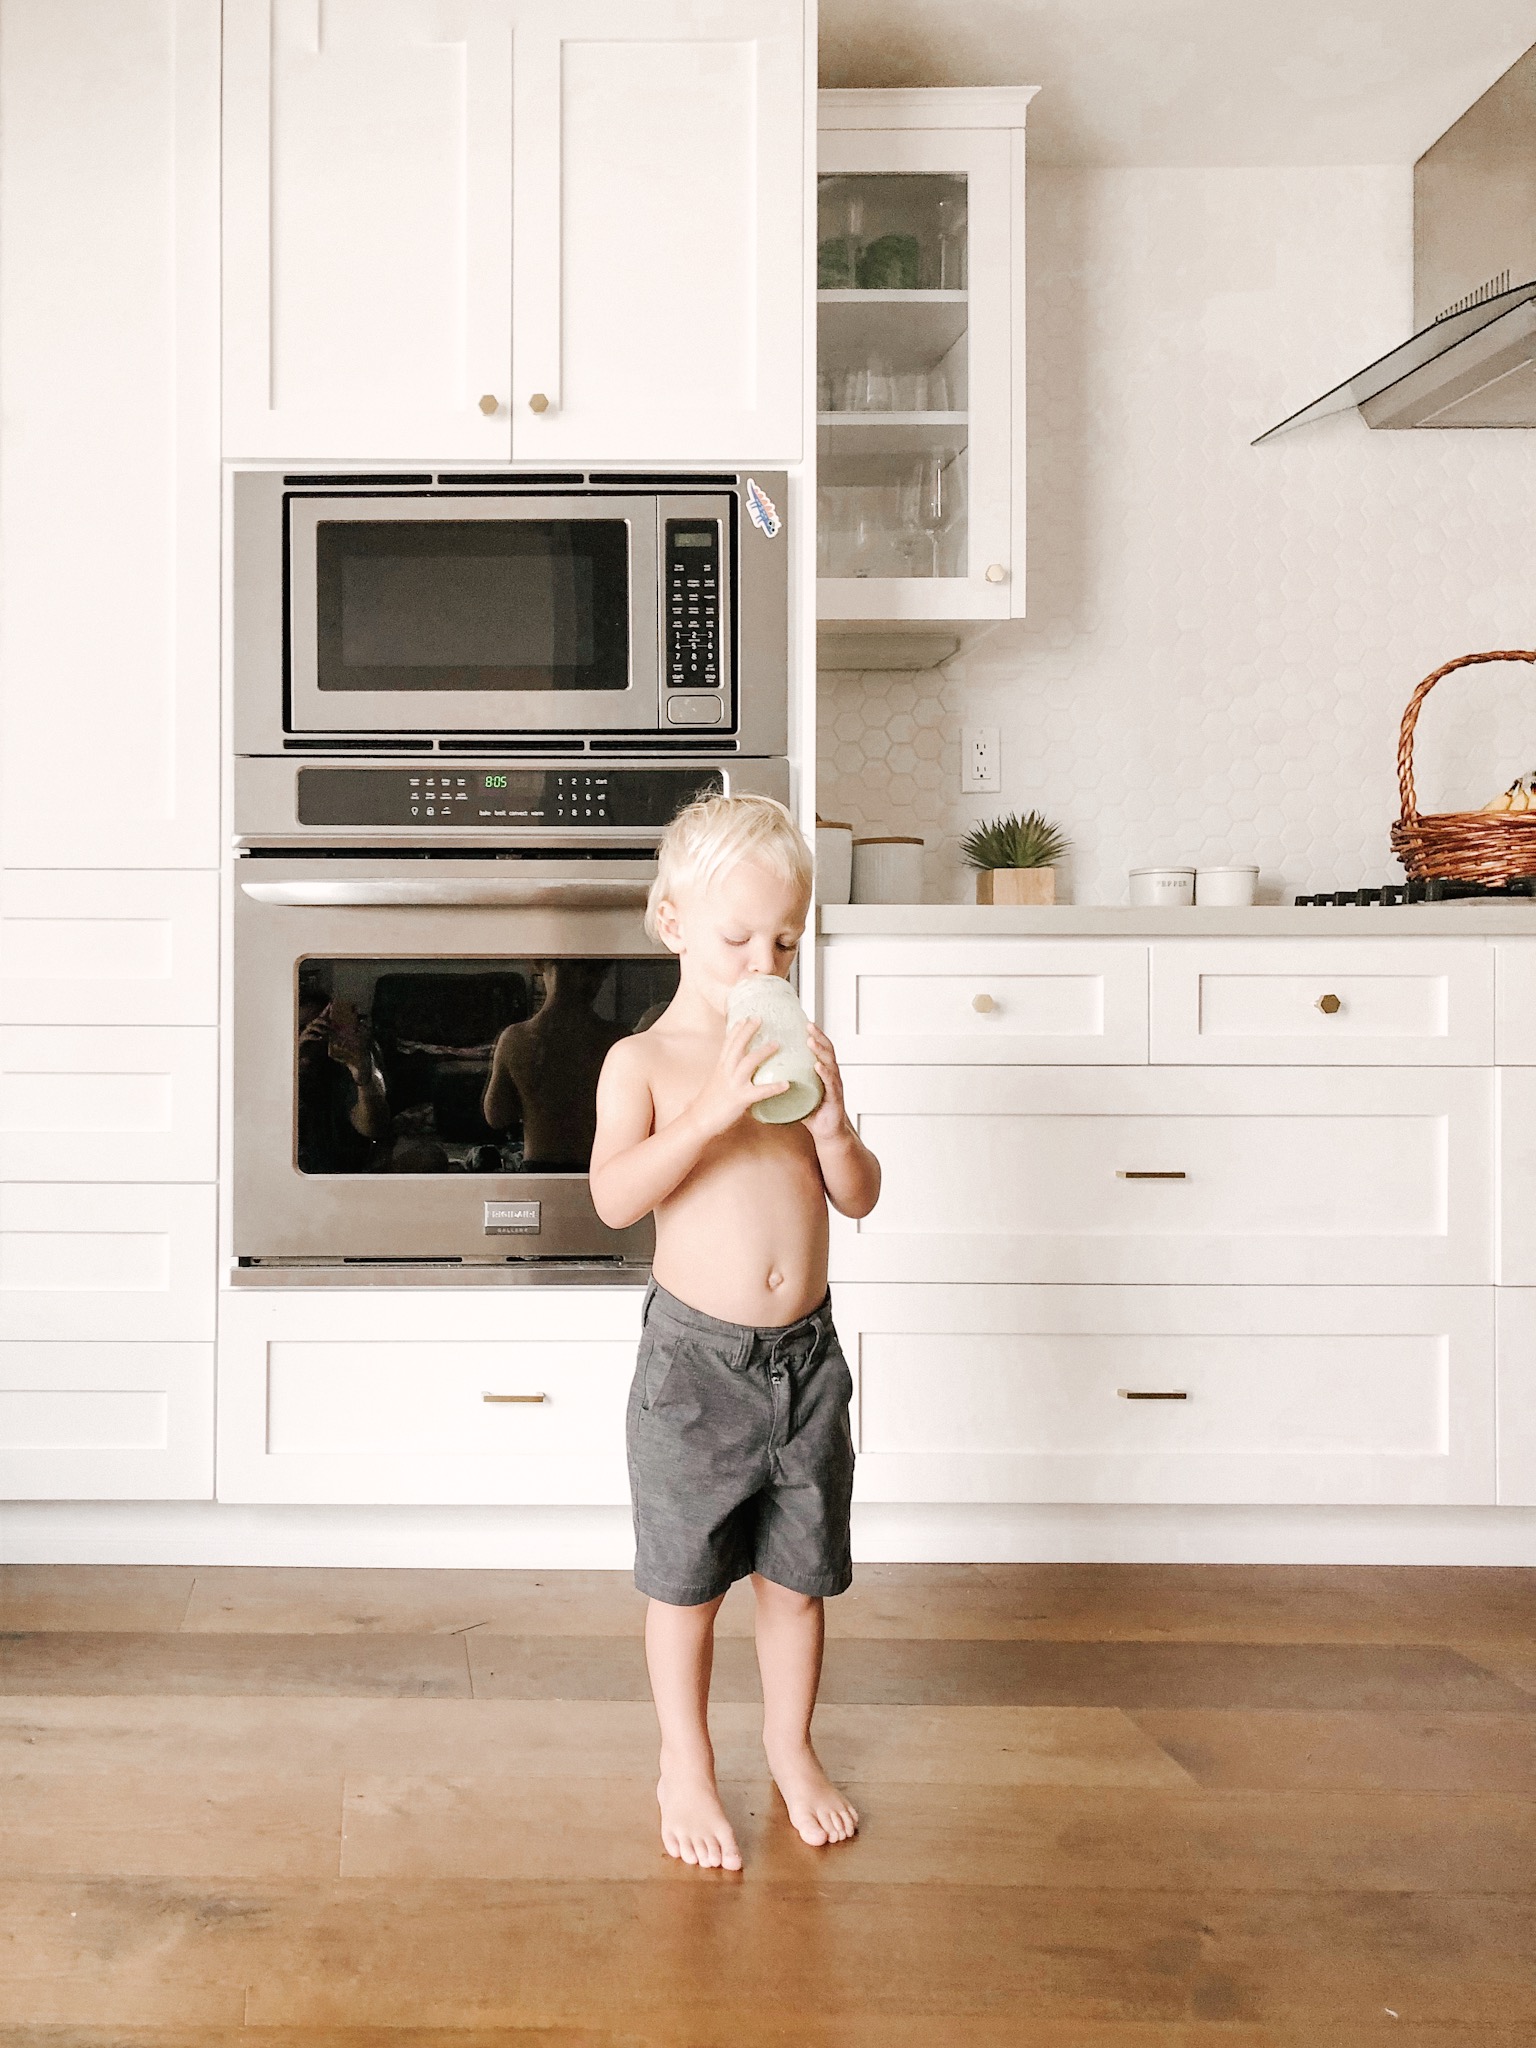
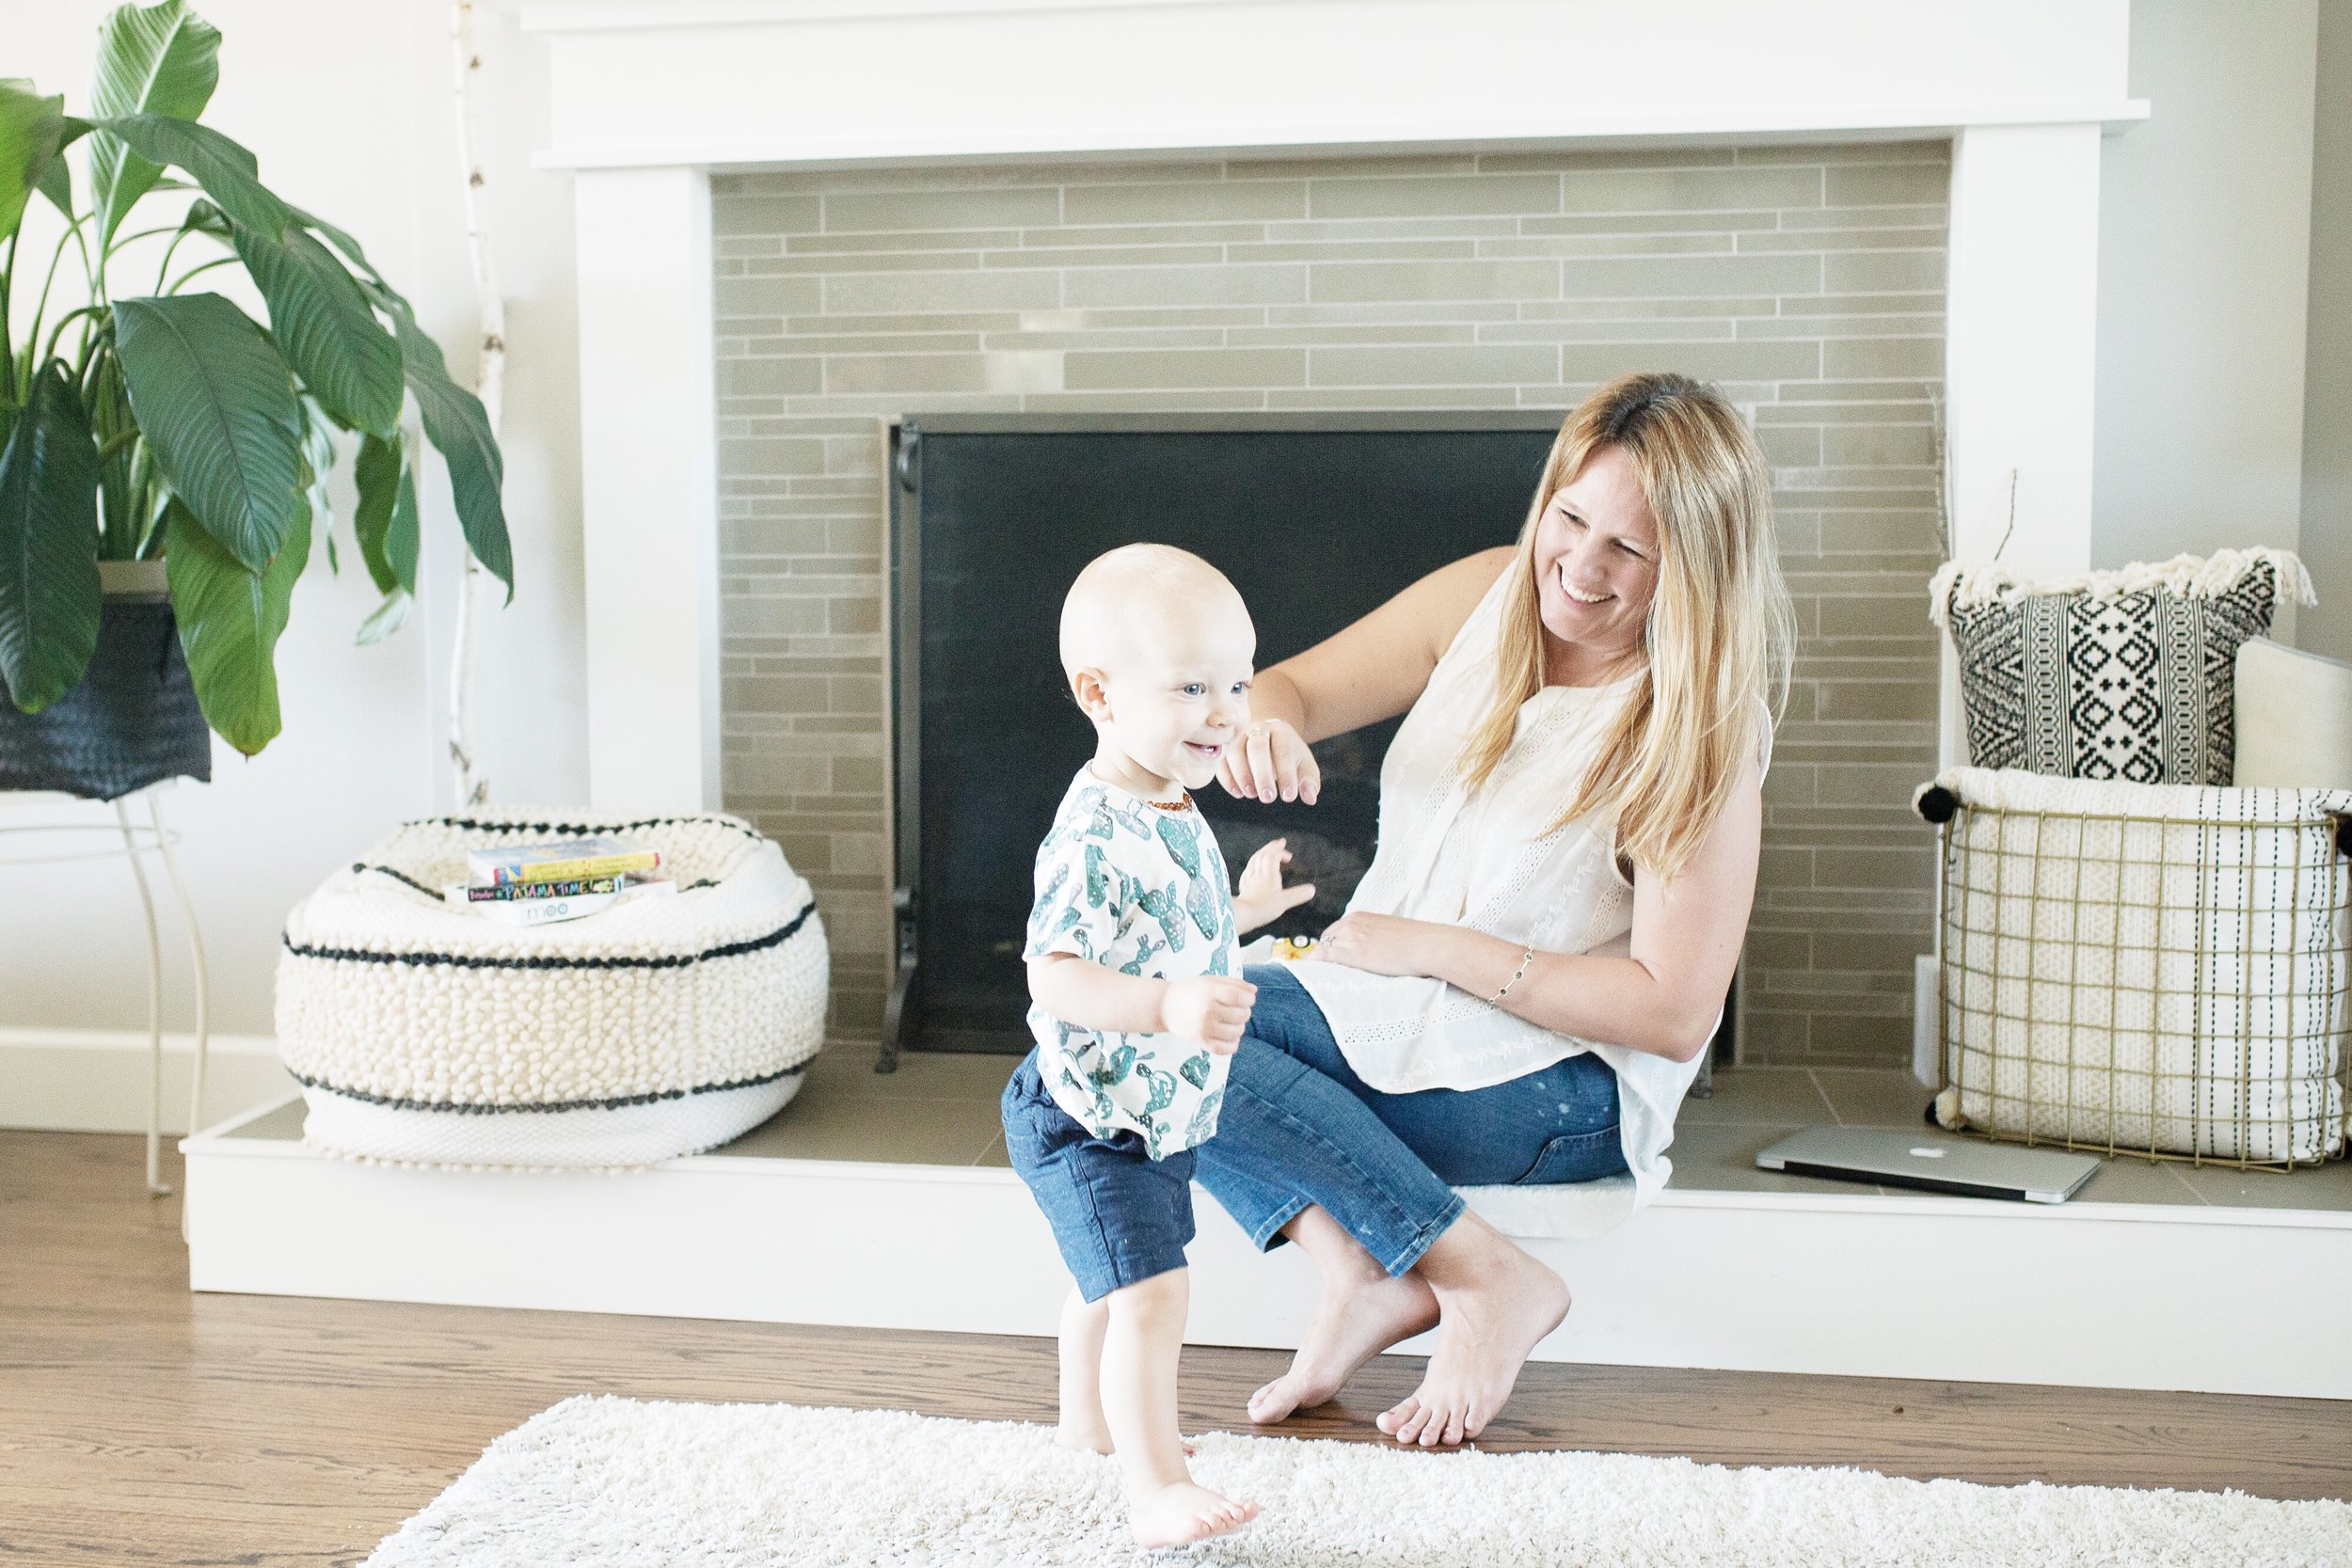
Here’s an example of an edit from start to finish. I snapped a quick photo of Finn on my iPhone X on a cloudy day. The lights weren’t on in the house and the front door was giving off some light behind him. Let me walk you through my steps in Lightroom.

IPHONE SNAP ON CLOUDY DAY -BEFORE EDITS

IPHONE SNAP ON CLOUDY DAY -BEFORE EDITS

EDITED WITH MANDI NELSON - MINIMAL PRESET + ADJUSTMENTS

EDITED WITH MANDI NELSON - MINIMAL PRESET + ADJUSTMENTS

STEP BY STEP

Import photo into Lightroom mobile

  1. Scroll the bottom all the way to the right - add PRESET [I click through each of my options to preview as some pictures look better with different presets to start with, but usually end up with EVERYDAY by MANDI NELSON].

    *Depending on what preset you use these next steps may not apply to you. My preset already ups the shadows and takes down some colors, so you can use my screenshots as reference where they are.

    [use the 3rd slide as an example- I took the oranges up to +24].

  2. Scroll to the LIGHT tab - up the exposure quite a bit, Don’t worry if the skin tones look white here, you will adjust the colors MIX tab later and this will help fix that washed out look on the skin. Sometimes I take down the shadows too.

  3. Scroll to the COLOR tab - on the top right, you’ll see MIX, that takes you into the colors so you can adjust individually. ORANGES - fix skin tone. Start with the SATURATION and then go to the hue until you find the tone you like.

  4. Still in the MIX tab - click YELLOW. Adjust the saturation until you get the walls or whites in your photo the way you like them.

  5. EFFECTS tab- personal preference but I like less grain in my photos, so I take that down a bit on MANDI’s preset.

  6. To finish - go back to LIGHT tab, and adjust your EXPOSURE again to make sure you don’t loose contrast when brightening too much.

THAT’s IT!

That’s how I edit my photos in lightroom using the MANDI NELSON preset, EVERYDAY.

ADD TO LIGHTROOM, CHOOSE PRESET TO APPLY

ADD TO LIGHTROOM, CHOOSE PRESET TO APPLY

EDIT LIGHT - UP EXPOSURE +TAKE DOWN SHADOWS [IF NEEDED]

EDIT LIGHT - UP EXPOSURE +

TAKE DOWN SHADOWS [IF NEEDED]

COLOR TAB - MIX [TOP RIGHT CORNER] ADJUST ORANGES [SKINTONES]

COLOR TAB - MIX [TOP RIGHT CORNER] ADJUST ORANGES [SKINTONES]

ADJUST YELLOWS - TAKE THE SATURATION WAY DOWN TO FIX ARTIFICIAL LIGHT

ADJUST YELLOWS - TAKE THE SATURATION WAY DOWN TO FIX ARTIFICIAL LIGHT

ADJUST THE GRAIN. THIS IS TOTALLY A PERSONAL PREFERENCE BUT I LIKE LESS GRAIN.

ADJUST THE GRAIN. THIS IS TOTALLY A PERSONAL PREFERENCE BUT I LIKE LESS GRAIN.

GO BACK AND ADJUST EXPOSURE AGAIN IF NEEDED

GO BACK AND ADJUST EXPOSURE AGAIN IF NEEDED

OTHER PHOTO APPS I LOVE

SNAPSEED -

Oh how do I love this app so much!

Snapseed not only can adjust the colors of your photos, but it can adjust parts of your photos, it can auto correct your perspective and it can even EXPAND your image if you didn’t take those two steps back before snapping like I suggested. I’ll work on a tutorial of how I use them next because I actually use this one a lit to change the angle, and perspective of my pictures.

RETOUCH -

The best healing app out there. When I say healing, I mean get rid of that lady on the beach standing behind the perfect capture of your little one, removing the tv wires from a photo or the telephone wires from a super cute shot of the family. This app is super easy and makes it easy to get rid of all the little things you don’t want in a picture.

UNFOLD -

Unfold is the app that takes your IG stories to a whole new level. Picture collages never looked so good! You can add fonts, background frames and even upload videos and images on the same slide.
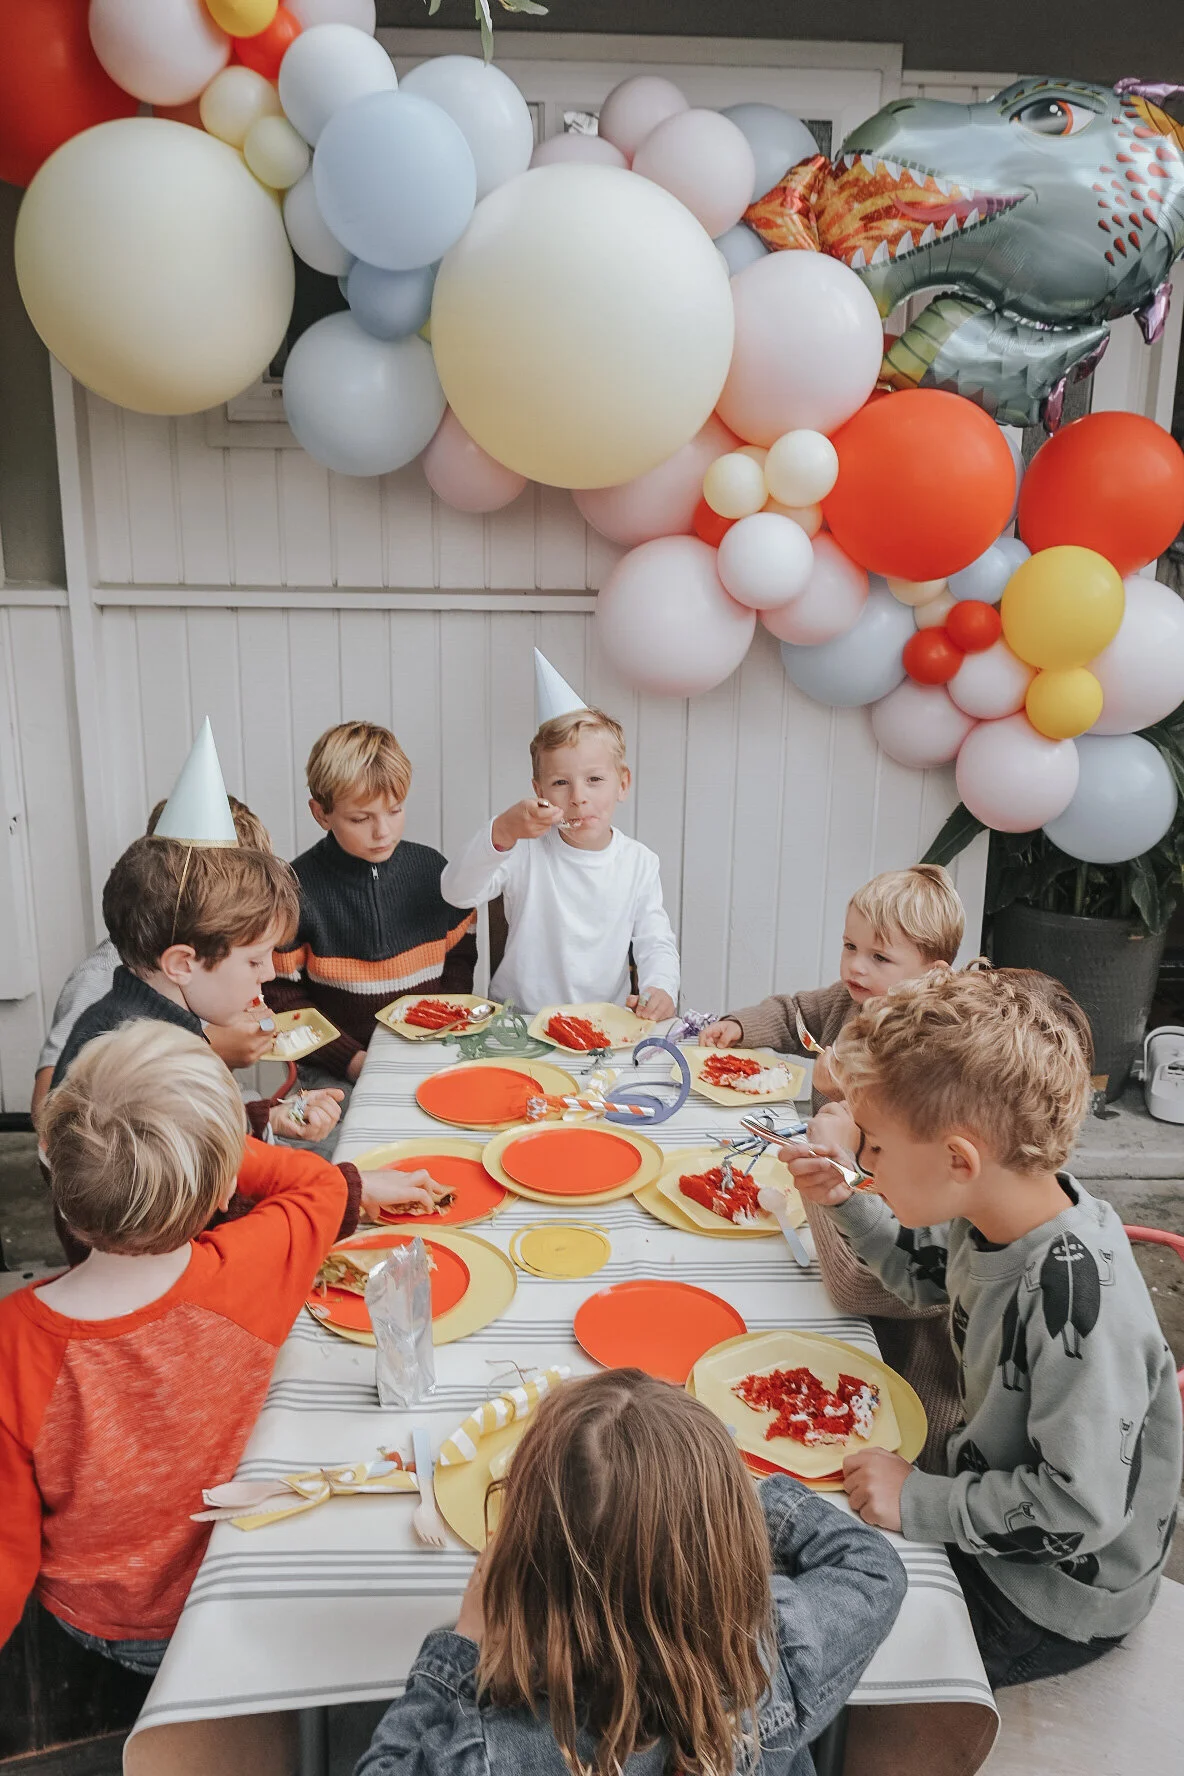
I hope this helps! I have so much more I’ve learned over the last two years, so maybe I’ll make this photography tips thing a more regular occurrence. If you have a specific question you want answered, feel free to comment below! Can’t wait to hear if this was helpful or not.

photography tips i've learned to create a curated style

the best photography tips i've learned for capturing your family perfectly, even on your iPhone.

BA350A9B-81E2-4048-AF44-33CD575E7316.JPG

If you're a mom trying to just get great photos of your family that you can frame, or if your an aspiring blogger who wants a curated and personal aesthetic consistently throughout your feed, these are some simple tips I've learned over the last few years that helped me do just that.

If you’re looking for step by step examples of how I edit my actual photos right now. Head over to this post. I walk you through everything step by step and show you how I use all my favorite apps.

Three things I focus on to keep my Instagram feed cohesive:

1. shooting [lighting + angles]

2. editing [presets, touch ups, and angles]

3. posting [9 grid]

90% of my photos I take on my iPhone X, and 50% of the time I use the portrait mode, it needs bright natural light to be crisp, so sometimes I can't use it to get the best shot. If I am using an actual camera, I'm usually using a Canon t3 that Jason bought for me 8 years ago. But truthfully, in my opinion, it's usually not the camera that makes the picture look good, it's the person taking it. It took me almost 3 years to finally feel like I kinda know what I'm doing at these are a few things I've learned that have helped me.

ikea duktig kids play kitchen hack.JPG

1. When shooting anything; people, food, scenery, selfies, be aware of your surroundings and don’t be afraid to take a few steps back and get more of the location in the picture. [you can always crop later]. A good rule of thumb I use when directing Jason to take a photo is to make sure you get our feet and our heads. It’s human nature to always want to take the image close to someone’s face but I like it when you get the whole picture of what’s happening in the image when you take it from farther away.

modern bohemian home large letter print.JPG

2. I almost always try and take my photos with natural light. If I’m outside, whoever is taking the picture [usually me] have them [or you] stand with your back to the sun. And try and avoid standing in the sunlight. Use a shaded area that still gets a good amount of natural light from the sun.

3. If you are shooting indoors, or with artificial lighting, you can get rid of the yellow tints by adjusting the yellow hues and the temperature of the image. [Lightroom does this best]. This is my favorite things I've learned so far. But when shooting, try and keep the lights off as much as possible and avoid using the flash. It’s easier to brighten the photo because it’s dark vs get rid of the yellow light or reflections from the glare of lights.

photography tips removing yellow artificial light.JPG
toddler bubble bath photo tips for moms.JPG
photo tips for moms.JPG

4. When you edit, keep your photos straight and centered. Use the crop/straighten tools and the perspective to adjust the angle vertically or horizontally. I will show you how to do this in SNAPSEED in this post, but you can use any app or just adjust them in your photo gallery in your phone. This helps with the rule of 3’s, by keeping your lines straight.

photography tips for moms.JPG
photography tips for moms2.JPG

5. Use the rule of 3's in photography to align the photo. This is so simple but makes the biggest impact. The rule of thirds is applied by aligning a subject with the guidelines. The basic principle behind the rule of thirds is to imagine breaking an image down into thirds (both horizontally and vertically) so that you have 9 parts and creating a horizon so that your eye easily moves from square to square.

IMG_4870.JPG

6. Set your scene first and make sure you’re taking the snap straight if you can. If you have time take a couple practice shots so you can see if a weird outlet or random thing stands out in the image. Try and take photos straight on so when you align your subject, don’t shoot from the side of it, shoot straight at it. Don’t be afraid to move around! Taking images from all angles you wouldn't normally think would be good, sometimes get you the best shot! If you end up with something in the image you want to edit, I use RETOUCH. Like this picture below actually had a vacuum leaning on the sliding glass door. I edited it out with two clicks.

IMG_2551.JPG

7. Use your favorite preset or filter to keep all your photos consistent. Lightroom mobile is free and it is a professional photo editing app that usually you can editing in one click using purchased presets. Below are 6 images shot in very different settings and light but edited with the same filter. I’ll put some of my favorite presets in my post, How I create a consistent aesthetic in my photos. [other apps I use and love, snapseed, color story, and retouch].

IMG_1623.JPG
IMG_4475.JPG
IMG_3406.JPG
IMG_4662.JPG
IMG_3048.JPG
IMG_0039.JPG

8. This one is more for influencers or bloggers, but I use a planning app for my posts. I use planoly, it’s not a free one... but I’ve used it forever and I love it. I usually only post once a day but sometimes I get multiple images that day that I want to post so I save them in there. I store my hashtags and write and edit my captions ahead of time. This helps me see if a photo's colors or how I edited to fit into my aesthetic or if I need to adjust the exposure or temperature to fit the rest of the images before I actually post it.

9. This is a personal preference but I use the grid method [maybe it’s called something different] but I staged my photos to have one light and one darker photo each time. Which creates a grid that is easy on the eye.

photography tips for mommy blogger planoly.jpg

10. Try, try and try again. The more you shoot, the better you will get. Same with editing. As you start to edit your photos, it will become second nature and then you'll learn another trick to making your photos the exact style and feel you are looking for.

Balancing Motherhood + Blogging | #TheMomBlogCollective Week 4

Balancing Motherhood + Blogging || #Themomblogcollective Week 4

6F0D9CBC-E5F9-4C91-9D7B-AF847EB03FD1.jpg

If you're new here, here's the scoop. Once a month, our group of amazing and inspiring mamas will answer the same set of questions to do with blogging, Instagram, photography, collaborations, sponsored posts, balancing it all with motherhood, and more. We each have different perspectives and different opinions, so this is a fun way to learn from one another. We hope you'll join along! Check out the hashtag #themomblogcollective to see everyone on Instagram, and I will also link you to all of the amazing blog posts here at the bottom of my post!

If this is your first time checking out the series, and you'd like to get caught up from the beginning, here ya go:

Top 5 Tips when starting a blog or Instagram | Week #1

 How to create your brand + build an online community | Week #2

Photography tips for a Cohesive Instagram feed | Week #3

(I just want to apologize in advance for the lackluster of this week.  I was on vacay with these lovely blogger friends in Palm Springs and needless to say, it was hard to focus on writing a blog when I was meeting some of my favorite mama influencers IRL for the first time. Feel free to check out #momsdopalms, for a full photo journal of our adventures.


Now, you've made it to this week!  How to Balance Motherhood + Blogging | Week #4

8456FD3A-49ED-47BF-8F8D-E51506D4A538.jpg

One of the most asked questions I get when I meet a fellow mama and tell them I'm a blogger is, how on earth do you find the time to do it all?  I usually laugh because I feel like I don't actually have that part figured out yet.  This weeks topic is sort of ironic because the last few weeks, many of us who are part of #TheMomBlogCollective have been so overwhelmed with regular mom life that we ended up having to skip or postpone this series a few times.   The truth is, sometimes, the balance just doesn't happen as expected, so be patient with yourself and try to not put too much pressure on sticking to a perfect schedule.

D2E132DD-844D-4BA1-8B61-6A3181466B3D.jpg

I've been an Instagram influencer for about 2 years now and blogging for about 6 months and I still feel like I'm still searching for the secret to balancing my time.  Of course one day I hope I can call this influencer gig my full-time job, but for now, it's just a little side hustle when I'm not busy with that #momlife.  

My real full-time job is a mom and a wife so I have lots of duties I am responsible for on the daily.  I don't have a nanny, a housekeeper, or someone showers and eats for me, so ya know, my daily task list is pretty long. A lot of the time I am single parenting because my hubs travel a ton for work, so finding time to post on Instagram or write a blog is a challenge on most days.   

A1EE01BE-978F-4438-B946-2D72E1478080.jpg

I've struggled with the mom guilt when Finn is watching hours of YouTube or Disney movies 875 times in a row. I've gone days without eating a thing until 3 pm, skipped numerous workouts (like all of them) and I've definitely forgotten to call back a girlfriend a time or two (prob three) because I'm busy working on my Instagram or blogging.  And seriously, trying to write some witty and compelling caption for my daily Instagram post while a sink full of dishes is staring me in the face is challenging to say the least.

52F0AC24-3D38-403E-BA98-B5485ABC7049.JPG

I used to try and post twice a day at least 5 times a week, but that was just too much time away from my daily responsibilities.  Last month, I adjusted my posting schedule, because it was too much pressure to be that consistently witty and keep my images in my feed consistent that many times in a week.  Now, I only post 1 time a day (either before 9 am or after 5 pm) and if my week is crazy, I don't have a problem skipping a day or two.  

 I write and edited photos when I can, and most of the time it means I'm probably ignoring something else I should be doing.  Ya know, like laundry, a playdate or even a shower.  What's kinda funny is, I'm actually typing this on my iPhone as my husband drives us to lunch.  If you really want to be a blogger and find the balance, you've got to make the time, however, and whenever you can.  If that means getting up early, or staying up late or writing for a few minutes at a time throughout the day, it's up to you to find what works for your schedule.

Here are 7 ways I try to keep it all together while balancing Motherhood + Blogging :
1. Get up earlier than everyone else  
2. Find the beauty in the chaos  
3. Make time for me
4. Plan out my days  (please read #5 alongside this one)
5. Be adjustable
6. Be honest with your client, friends, husband and yourself
7. Take advantage of the time after bedtime

C9959C32-3D84-45F8-AB0A-6BF6E8013CCC.jpg

1. Get up earlier than everyone else.  

Having a little 'me' time before I get bombarded with the responsibilities of my day, really has helped me keep my Zen and tackle tasks with less stress.  Just being able to brush my teeth without a toddler pulling at my shirt, helps me feel like I've completed something for that day.  On the days I actually am able to shower, get dressed and put makeup on before he wakes up, those are the best days.  They don't always happen, but when they do I feel like a real person and not just mom who lives in sweatpants who always has that dry-shampooed bedhead and a toddler attached to her leg. It's true for me when they say, If I look like my best self, I feel like my best, and I then can be my best self.  (That's probably not the right quote but you know what I mean).

2. Find beauty in the chaos

You heard me, chaos means memories to me, it means things are happening that are sometimes messy, but that doesn't mean bad.  So, it's ok if you have dishes in the sink, a floor covered in cheerios and toys, and a laundry pile that has been looking at you for days.  It's ok if that blog post you promised the company would go live Tuesday if it doesn't actually get posted on Wednesday, life will go on.  If everyone is fed, clothed and happy, you're doing just fine.  

3. Make time for me (I struggle with this one a lot still)

Here's the thing, if the captain of the ship didn't sleep for 3 days, only ate crackers and string cheese and had no human contact besides a 1-year sing along to Moana, do you think he would be fit to lead his castmates into the sea and lead his team into rough waters?  No way, the ship would probably sink because the leader would be too exhausted to actually lead them.  You are the leader of the house and you are leading your children by your example.  Make sure you are on the top of that list of priorities.  Take what you need, when you need it.  I need a daily dose of reality TV paired with chocolate covered almonds and a glass of wine.  That's what makes my love tank full.  You decide what works for you, and make sure you don't skip what you need to care for everyone else.  That means, yes you have permission to sit on the couch midday if you need to regroup or recharge.  Ignore prepping dinner, taking out the trash and skip a post one day if you need to.  You do things for YOU girl, cause when you do, everyone benefits from it.  

4. Plan out your days.  (please read #5 alongside this one)

Make a weekly plan of things.  Not daily.  Cause we all know we can end up having "one of those days"  and if you only plan one day, it will ruin your whole week.  So, I like to plan my week, I like variety so I don't always have the same plan on each of my days of the week.  I do have a general idea of things that go something like this. 
7-8am: Me time (which does usually includes an Instagram post)  It's so much easier for me to posting before Finn wakes up, because after 8 am- it's 100% his time.
8-10am: Morning routine with Finn, diaper changes, teeth brushing, breakfast, teepee play time, etc.
10am-11am varies depending on the day.  Somedays we go for walk, some days we watch a movie, and some days we run errands (Target, duh).
We usually have a snack/lunch before naptime which is between 11 or 12.
11:30am-2pm-ish: Finn's nap time.  This is my time to catch up on emails, collaboration opportunities, plan content for the next few days, edit photos, etc.  I also need to find time to eat myself in here, so somedays, that gets skipped.  
2-4pm: This time is fully dependent on the type of day Finn is having.  He sometimes prefers individual play time, so I am able to do the dishes, clean the house, or fold the laundry while he builds a train, reads his books, plays with his cars.  And some days, it's all "I wanna hold you, mama,"  all day long. Those days are hard because I just can't get anything done with him on my lap.
4-6pm:  errands, dinner prep, or playdates
6-7pm: dinner, bath, bedtime
7-9pm: Wife duties, dinner, dishes, tv with hubs
9 pm---- ME TIME!  This is actually when I do my best work.  I plan my post for the next morning, or I write my blogs.  When everyone else is in bed.  Thankfully, Jason goes to bed at 9 pm every night he is home, so I am able to stay up and focus on my blogger responsibilities uninterrupted. 

5. Be adjustable

Things won't always go as planned, actually, most of my days never go as I planned, but I had to learn to live with the chaos and embrace it really. Some days are easy, some are not, but that's why it's great that success isn't measured in a day.  I like to think of it like a toddler's food plan.  If they get all they need in a week's worth of meals, one bad day of donuts, snacks and skipping all veggies are ok. As long as it's balanced out with the other days of the week.  If by the end of the week, you've hit all the food groups; that one day doesn't matter.  Apply that same rule to your mom, wife, and influencer duties and if at the end of the week you've fit them all in, you can consider that week a success.

6. Be honest with your client, friends, husband and yourself

Most of the time we want to hide our insecurities and just hope everything looks "perfect" when some days it's just not.  I found that when I was honest about what was happening in my chaotic life, it made me much more relatable.  I tell brands, "Sorry if I'm a little scattered, Finn has been super sick and took  1 hr nap instead of 3 hrs so, I'm a little behind on things and I may need to push the post a day or two.  Hope that's ok."  I tell my friends, "Guys, Finn just rubbed sunscreen all over the dog, can I call you back?"  I also let me husband know, "Today was tough, I need you to take over dinner and bath routines tonight. Would you mind helping?"  If you are transparent with everyone, trust me, they will usually understand and be empathetic.

7. Take advantage of the time after bedtime

Oh, you so know what I mean, right?  The moment you put the baby down for bed and you do your happy dance because you have whole 2-3 hours (depending on your bedtime) to get things done.  Or some nights, to actually just do nothing at all.  Some nights I like to shower, meal prep, load the dishwasher and straighten all the toys before I go to bed so I can start the morning without those on my list.  Because the more I get done at night, the better I feel in the morning.  Also, I try and make at least one night about my husband.  Just time for me and him.  Whether that's a glass of wine on the patio talking about our memories and our future, or if it's just cuddled on the couch binge-watching our fav shows in silence; I try for one night of uninterrupted husband and wife time. 

2CF32463-7BC3-4695-8749-930039853A86.jpg

As we all know, just being a stay at home mom comes with a full set of responsibilities, and then to add in wifey duties, friendships, taking care of my own body, etc fitting it all in can seem like an impossible task.  Then if you are an influencer, and you add in the blogging obligations and somehow try to also find the time to take pictures, edit them, write captions, and blog is stressful.  That in itself could literally be its own full-time job and it is for some of you.  Somehow, I try and cram all of those roles into my daily routine. Somedays it works, and some it doesn't.  I just try and remember, this is all for fun and it's ok if it isn't perfect. 

I'll leave you with one of my favorite quotes for those imperfectly balanced days that you need a reminder:

"If something is important enough to you, you will find a way; and if not, you'll find an excuse."

8F9C0B74-C4C1-4BD3-9DE0-5AE48857F5FE.jpg


Here's a link to all the other beautiful, genuine and inspiring mamas in the #TheMomBlogCollective:

britthavens.com | @britthavens

thelovedesignedlife.com | @thelovedesignedlife

koleimpressions.com | @steph__pollock

hellobabybrown.com | @hellobabybrown

mrsseacannon.com | @mrsseacannon

cultivatemotherhood.com | @cultivatemotherhood

www.ashleynoel.life | @_ashley_noel_

our guests this week:

henaandcompany.com | @henaandco

momwifefoodie.com | @momwifefoodie

amandapahls.com | @amandapahls


All photos in this post were sponsored by someone I am happy to have in my community of creatives.  Amelia Protiva is wonderful and amazing and just got her doula certification and is based in Silicon Valley.  If you are expecting or if you just want some gorgeous family photos, you must reach out to this beautiful and creative soul.  

How to Establish Your Brand and Build Your Online Community | #Themomblogcollective Week 2

Welcome to the second installment of The Mom Blog Collective: How to Build and Online Community and Define Your Brand. If you're new here, here's the scoop. Every other week, our group of amazing and inspiring mamas will answer the same set of questions to do with blogging, Instagram, photography, collaborations, sponsored posts, balancing it all with motherhood, and more. We each have different perspectives and different opinions, so this is a fun way to learn from one another. We hope you'll join along! Check out the hashtag #themomblogcollective to see everyone on Instagram, and I will also link you to all of the amazing blog posts here at the bottom of my post!

8F296636-1847-4BF1-846E-40B9C6C7E9BD.JPG

This weeks topic is: How to Establish Your Brand and Build Your Online Community

Those two things go hand and hand in my opinion.  In order to grow an authentic community of followers, you need to have a true brand all your own.  You need to establish what your brand is, and make sure that you continue to create a curated feed with your brand image in mind with every single post.  I believe most people follow me for a specific reason; either they love my photography style or aesthetic, they have a common connection with me like where I live or kids the same age, or when they read my posts I say something that resonates with them on a deeper level and inspires them in some way.  If I can connect with someone through my feed in one of those ways, I will gain them not only as a follower, but hopefully I'll engage with them enough and they will eventually join my community of followers who interact daily with me and possibly even meet IRL one day... (IRL=in real life).

Don't get me wrong, I certainly don't think I'm an expert on this topic by any means.  We've all been there, where it just feels like it takes a small miracle to get someone to click that 'follow' button or even just double click your picture, right?  I struggle daily watching that little number go up and down. I gain a few followers and then I lose just as many each day.  So, in this week, I'll be talking mostly about how I use my brand image to get my followers to stay with me, double tap my images, how I encourage comments, and eventually how I get them to join my community.

Here are my 6 key steps to start building your brand + community now!

Step 1: Create 5 key words to describe your brand image

Step 2: Get your colors and photography style consistent

Step 3: Define your core topics

Step 4: Plan out your posting schedule

Step 5: Ask followers to join your community

Step 6: Engage using specific hashtags


 -You can't be everything to everyone-


Step 1: Create 3-5 key words to describe the feeling you want for your feed.  What vibes, emotions, impressions do you want to leave with someone when they visit your page? Do you want your feed to emulate romantic, classic, bold, colorful, soft, whimsical, minimal, adventurous, playful, moody, or humorous?

In my opinion, the first step to creating your brand should be to figure out who are you really speaking to.  For me, I needed to create my own brand identity that would speak directly to my ideal follower.  I wanted my feed to be a true visual representation of myself through an authentic voice and consistent images so I could reach my true people.  Some words that describe my brand are authentic, bright, beachy, mom-friendly and organic, how would you describe yours?


-Create a clear identity through your photos-

FullSizeRender.jpg

Step 2:  Get your colors and photography style consistent.  When someone sees a picture of yours, they should clearly know it's your photo either by the style or the colors or both.  Based on the recommendation from @jennakutcher, and her Instagram Lab Course, I created a brand mood board/color theme.  It included my top 5 branding words and my top 5 colors of my feed, which helped me focus on my true brand image.  Canva is this awesome app you can use to get your "colors" by using a screen shot of your feed.   Here's mine:

When I take photos or edit photos, I try and stick to these 5 colors.

You can try it for your own feed here.  Just take a screen shot of your Instagram feed and it will pull out your top 5 colors for you.

(Our next post in this series is all about photography and editing your photos, so don't worry...more details on this to come!)

CANVA COLOR PALETTE GENERATOR

CANVA COLOR PALETTE GENERATOR

 -Have a focused approach-

Step 3: Define your categories:  I talked a little about this in my last post.  The more you can narrow your focus, the easier it will be for someone to connect with you. I try and define my brand into 5 categories and concentrate my posts around those topics. Family + Marriage, Motherhood, WAHM Life, Beauty + Fashion, Home Decor.  This helps me be consistent and authentic in each and every post and differentiate myself from other bloggers out there.  Using your top categories you defined above, try to create a diverse but defined feed that flows and touches on each topic throughout the week.  Maybe Mondays are WAHM life, and then Tuesdays you try and post about home decor, etc.  This way, you always have something to talk about, and you aren't trying to come up with a witty caption every time you have a great image to post.  It gives you and your feed a more defined focus, which will, in turn, help people to connect with you and keep coming back for more each week because they know what to expect.

-Establish your top posting schedule-

FullSizeRender.jpg

Step 4: Define posting schedule and best times to post. 

You need to ask yourself how often you are willing to spend time on Instagram and how often you really have the time to create a post that will speak to your followers, create hashtags that flow with that photo and make time to engage with your followers who comment.   It's important to make a plan and stick to it so that your followers see you consistently.  Is it once a week?  Once a day? 3x a day?  What does it take to grow your community....that's entirely up to you!  

I recently switched over to a business account and found out that the majority of my followers are actually from Southern Cal and most of them are most active on Tuesday- Saturday.  These insights can help you determine a posting schedule that will create the most engagement on your photos.  If you find that most of your followers are in a different time zone, you should adjust your posting time to fit when they are most active.

For me, I started with once a day, about 4x a week.  Now I try and post before 9 am or after 6 pm 5x a week.  I generally take off the weekends because I have found my better engagement times are during the week.  If you don't want to switch to a business account, there are lots of other sites to view your analytics.  Once of the most popular is

- Include a call to action-

FullSizeRender.jpg

Step 5:  Think of your call to actions like a personal invite into your community.   Occasionally include a call to action; double tap if you love tacos as much as me, comment with your favorite place to buy children's clothes, click the link in my bio to see my tips on how to meal prep, etc.   The goal is to get people to engage on your posts.  People may not feel compelled to comment unless you ask them to, and they may not even respond to your question when you do, but you want them to get engaged any way you can.  Trust me it works.  One of my most engaged posts I ever had was about a postpartum struggle I was experiencing after my first baby.  It was a hard & honest post for me to write, but I was vulnerable and I asked for help or ideas from my followers on how to fix it.  So many people commented that they struggled with the same thing and how they dealt with the issue.  You can read about that here if you want more details, but trust me having a call to action will help your engagement and lead to more true followers.

Remember, your followers want to see you!  Not only in your real genuine voice but images of you!  That creates a connection better than any other.  I bet you if you scroll through your feed, you'll see your most liked photos are not the most perfect flat lay, or the most beautiful sunset, but they are ones you are in, and ones you have written a heart felt or authentic caption about yourself.  Try and do that at least once a week and I promise you, your have a community faster than you know it.

 -Engage using specific hashtags-

Step 6:  One of the best ways to find a new audience is through hashtags.  Using your categories above, search for your niche hashtags and include them in every post.  

I have my hashtags grouped into my categories and saved in my planning app.  (I use Planoly but there are a ton of planning apps out there).  You are allowed 30 hashtags a post, and I use every single one.  If you have a photo that gets great engagement you may end up in the top 9 photos of that hashtag and you will be seen by tons of new faces.  My goal is to get my post in at least 3 of my hashtags top 9 photos to gain followers in my specific niche.  Out of the 30 I am allowed, I'd say 10 are always the same, and then for the rest, I switch it up and use some hashtags that have TONS of posts on them and some that have under 2 thousand posts on them.  I use some that are more specific to my location or subject matter and then some that are broader or used more often.  There is some chatter about using hashtags in your caption or in your comments, and getting "shadow-banned" but I haven't noticed enough of a difference in either to comment on that.  I think we will end up having a more detailed week on this subject where I can expand more on the hashtag subject, but if you have specific questions, please feel free to comment here or on my IG.

-Time + patience are key- 

I leave you with this, you can spend all your time creating the perfect brand and image but if you don't spend time engaging with others, you will not be successful in building a community.  People want to know they are seen and heard, and not just another like on your images.  In between all the curating, planning, and writing you need to include time in your day to reach out to both current and potential followers and comment and like on their pages as well. Respond to your comments on your posts, and search your niche hashtags and engage consistently.  I know that takes TIME, and TIME is the key word here. In order to grow organically, you need to have patience and show yourself some grace if it isn't happening as fast as you'd like.  Remember in order to grow organically, you need to engage, and you'll see a return from your hard work.  That engagement takes time and patience.
In June of 2016, I had 916 followers, today I have over 8 thousand.  I found that as I posted more authentic and vulnerable posts and the more I engaged with my followers and potential followers, the more my community was growing. 

Each month we feature different guest bloggers in addition to our core 10. While we will all be answering the same questions and writing about the same topics, it will give each of you a wide variety of perspectives. We each have a different blogging style, photography style, schedule and more so it will be a great opportunity to read everyone's posts and gain a little insight from each one. 


Here are this weeks contributors: 

mrsseacannon.com | @mrsseacannon

britthavens.com | @britthavens

koleimpressions.com | @steph__pollock

cultivatemotherhood.com | @cultivatemotherhood

www.ashleynoel.life | @_ashley_noel_

hellobabybrown.com | @hellobabybrown

darlingnightingale.com | @darlingnightingale

www.a-blessed-nest.com | @blessednestblog

thelovedesignedlife.com | @thelovedesignedlife

GUESTS: 

kristlesclarity.com | @hereyeswereolivegreen

@amylouhawthorne

If you have a topic you'd love to get an answer to in our series, search the hashtag #TheMomBlogCollective on Instagram and comment on any one of our photos under that hashtag to let us know! You can also leave comments on our blog posts.

IMG_0766.JPG

Top 5 Tips when Starting a Blog or Instagram Account | #TheMomBlogCollective WEEK 1

I'm so excited to share a new series I am starting here on my blog called #TheMomBlogCollective. Twice a month, I've teamed up with 10 other influencers and we will be sharing a blog post on the same topic -- related to blogging, instagram, working with brands, making money, photography, motherhood and more. More than almost anything else, each of us get asked how we started blogging, what tips we have for someone looking to start, how to work with companies for sponsored posts and more, so those questions are the starting point for our series. 

Each month we will feature different guest bloggers in addition to our core 10. My favorite part is that while we will all be answering the same questions and writing about the same topics, it will give each of you a wide variety of perspectives. We each have a different blogging style, photography style, schedule and more so it will be a great opportunity to read everyone's posts and then figure out what works best for you. And if you have a topic you'd love to get an answer to in our series, search the hashtag #TheMomBlogCollective on Instagram and comment on any one of our photos under that hashtag to let us know! You can also leave comments on our blog posts.

4557D681-DA41-4BE8-B4F8-D33271331E74.JPG

A little about me.  

26841285-DCB1-49E0-A6E8-39ECAFEDDE3E.JPG

After I left my crazy busy, 80hr a week, 15 year career in fashion and moved to the Bay Area of Northern California I needed to find something to do with my time.  I had no job, I was new to the area so I had no community of friends and I was newly married with a husband who traveled a ton. When I would talk to my friends about my life changes, and my transition from sales manager power house to unemployed house wife and my future goals of having babies and doing yoga daily, they would listen intently and they would all say, "you should start a blog!"  

I didn't have the first clue about how to be a blogger and it scared the crap outta me to start something new when there was already so many other influencers out there doing it in such a successful way.  I mean, do people really want to hear my story?  Speaking truthfully, I wasn't quite sure what my actual story was even going to be focused on but, I knew I had a story to tell.  I wanted to share my passion for newly married life, fashion, trying for babies, life changes from leaving my career and just life in general so, that's when I started my Instagram acct just for insta-blogging.   Now, I feel like I need to admit that I'm still kinda lost when it comes to SEO, affiliate links and everything else involved with the actual blog part of social media but, I do know I've learned a tremendous amount in the past 2 years of being an Instagram influencer.  

8D9A6D2B-FA3D-4F89-B77E-7035D7E44100.JPG

So, besides the typical first steps that you may already know about being an influencer like choosing your account name, or finding the perfect photo filter, or choosing between square space of Wordpress for your domain, here are my top 5 tips when starting a blog or Instagram account (but really it's just what I follow when I think about my own personal Instagram process and I hope it helps you)!

1. Progress over Perfection.


Here's the truth, when I first started my Instagram, my posts sometimes would take me up to an hour to write.  I constantly found myself being too wordy, and then not knowing how to edit.  What do people really want to hear, or not hear?  And then the images, are they the right color or brightness?  Does it fit in my aesthetic? Is my picture good enough to make people stop scrolling?  When I first started, this was my problem, constantly over thinking everything! I would find myself not posting for days because I was waiting for the perfect post, or the perfect time, or the perfect image.  If it wasn't perfect enough to post, I wouldn't post anything.  But, I quickly found out that progress is better than perfection.  The more your engaging and sharing your heart, the more followers will find you.  If you want to start a blog or become an influencer, just start now.  What are you waiting for?   I promise someone out there needs to hear your story because they can relate in some way.  If you are true to yourself, and you share images that make you happy, I am sure it will make others happy too.  Just start somewhere, don't think too hard about it and just begin.  

2. Be Authentic.   


It is all too easy to get caught in the comparison game when scrolling aimlessly through influencers feeds and blogs.  It's important to always be yourself and not try and be what you think people want you to be.  There are so many gorgeously curated feeds out there with mamas who have the perfect top knot, clean kitchens, with fresh flowers cut on the table and the cutest baby in tow...but honestly, that's not always real life.  One thing that I know helped me grow is to stop following people that I compare myself to or made me feel less than. Believe it or not, when you are scrolling through other peoples feeds, these images are making a huge impression on you.  Those images you stop and double top or screen shot can start to have an effect on your own content.  It can start to affect what you post or don't post, they can affect your confidence in your own creativity and it can even affect the way you are feeling about your life.  As they say, Comparison is the thief of joy and I believe that is true in this process.  If you try to stay focused on your own creative journey and be authentic in that journey, it will bring you joy and success.

3.  Know who you are.


Finding your own voice and your own vision and staying true to that is super important for growth.  Staying focused on your brand and image with every single post has a huge effect on your success.  My number one thing is to make sure you are sharing your full self, but also try not to be everything to everyone.  If I asked your closest friends to describe you in 5 words what would they say? What part of you do you really want to share?  Your fashion style, your foodie outings, your mama tips, etc.  Instead of sharing every single thing you like, which makes it hard for people to connect with you, focus on a couple things and really expand on those topics.  When people come to my page, I want them first to see that I'm a mom, second, I'm a wife, third I'm a sweatpant loving momtrepreneur who works from home and is struggling to balance work/home/parenting life. I try and use those few things as anchors in each of my posts.  If my posts don't talk about one of those things, then I am missing sharing my real brand image and finding my true community.  I find people connect with other people for a specific reason; whether it's because they love their home style, or they are vegan, or because they are working from home moms, etc... So let your account reflect a few things about you so people can really find something to relate to on your page. Finding your niche is going to be an ongoing process but the idea is to post images, ideas, and stories that resonate with your true community, and if you can do that, you are totally winning.

4.  Be ready for change.  

In order to monetize your Instagram feed, it's important to keep up with these constant changes.  What worked for me when I first started has changed so much with each day, week, and month.  As this little app evolves, and algorithms change, you have to be ready for that.  You need to make sure you find time to keep up with the changes and always be on the lookout for how you can evolve and do things better.  It's a never ending battle to keep growing despite the ever changing process of it all. I remember when I first hit that 1k, and then 5k, and now I'm stuck at 8k and it's killing me. But honestly, I'm sure once I hit 10k, I'll just want more.  And with that comes hard work and new ideas of how to make it all happen.  I use my community to stay up to date with things and we are constantly sharing other techy blog posts that keep us informed of changes on Facebook or Instagram.  There are tons of influencers out there who are willing to share their knowledge, you just need to take the time to research it.
 

5. Join a community of creatives like you.

When I first started this journey, one of my main goals was so to find a community of like minded people and love them hard.  Ya know, like find your tribe and you will thrive thing?  Having a community of other momtrepreneurs, or creatives I can bounce ideas off of or share a win with is exciting and necessary for my continued success in this influencer journey.  Yes, I have my friends and my husband I can talk to about it but, it's not the same.  Don't get me wrong, Jason loves a good celebratory dance session when I get a check in the mail for a collab, but does he really love hearing how my photo just got 500 likes for the first time ever, or how this huge brand just reposted my photo, probably not.  I know he supports me, but does he really get it?  I've met some amazing friends through this journey and we chat daily.  I have to say, these conversations can mean the difference of me feeling completely lost at sea or confident in my ability to do this.


8F296636-1847-4BF1-846E-40B9C6C7E9BD.JPG

I'm gonna end it with this.  HAVE FUN!!  Don't take things too seriously and try and have a good time.  If posting in your feed becomes a stressful part of your day, take a break, and I promise your true followers will be there when you get back.

Please leave me comments below or questions so I know I'm not just only talking to my computer screen. 


You can find all the other blog posts linked below:

A Blessed Nest | @blessednestblog

Ashley Noel | @_ashley_noel_

Britt Havens | @britthavens

Cultivate Motherhood | @cultivatemotherhood

Kole Impressions Blog | @steph__pollock

Hello Baby Brown | @hellobabybrown

Mrs Seacannon | @mrsseacannon

The Love Designed Life | @thelovedesignedlife


All photos in this post were sponsored by someone I am happy to have in my community of creatives.  Amelia Protiva is wonderful and amazing and just got her doula certification and is based in Silicon Valley.  If you are expecting or if you just want some gorgeous family photos, you must reach out to this beautiful and creative soul.  

This website contains some affiliate links to products that we use and love. A very small percentage of purchases made through these links goes to help support our family in a small way. Thank you for following along.